Transform Your Space: Tips for Cabinet Refacing
Are you looking to transform your kitchen without spending a fortune? Reviving your old kitchen cabinets is an easy and affordable way to create a brand new look. With the right supplies, a bit of elbow grease, and some creativity, you can give your tired kitchen cabinets new life – all while staying within budget!
The first step for Cabinet Refacing is to thoroughly clean them. This will help ensure that the paint or stain you choose will adhere properly. Once your cabinets are sparkling clean, you can start thinking about colors and finishes. Whether you’re going for a classic look with white or cream, or something more modern with bold colors and deeper stains, it’s important to consider how much time and effort you’re willing to invest in upkeep – darker colors can be harder to keep clean.
Once you have selected your desired color scheme, it’s time to prepare the cabinets for painting or staining. This includes sanding away any damage on the surface of the wood, as well as filling in any cracks or holes. If you’ve opted for a painted finish, it’s important to use a primer first – this will help ensure the paint adheres properly and won’t chip off easily.
Finally, once your cabinets are prepped and ready to go, it’s time to apply the paint or stain of your choice. Be sure to follow all instructions on the can regarding how many coats should be applied and when to allow each coat to dry before applying another.
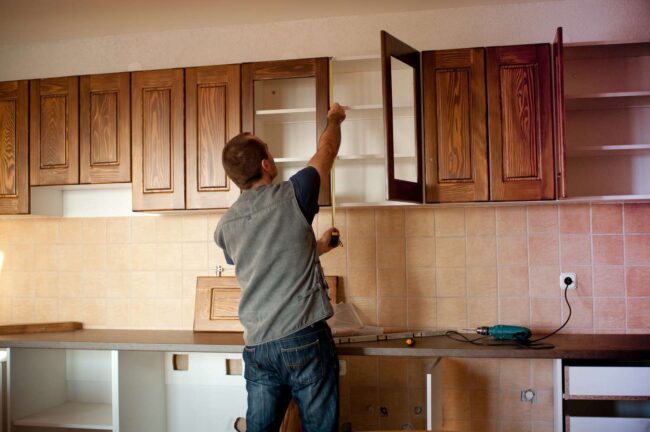
When you’re finished with Cabinet Refacing, take the time to admire your handiwork! With minimal effort and cost, you have completely transformed your kitchen cabinets from drab to fab.